Deploying a Static Website on Cloudflare Pages Using the Hugo Framework

Static websites have gained popularity in today's digital landscape due to their simplicity, security, and rapid performance. When deploying static sites, Cloudflare Pages offers an outstanding platform with its serverless architecture and global edge caching. By harnessing the power of Hugo's static site generator and Cloudflare Pages' deployment features, you can easily create and host a high-performance website.
In this blog post, we will explore how to deploy a static website using the Hugo framework and Cloudflare Pages.
Prerequisites:
Cloudflare account: Cloudflare is a popular content delivery network (CDN) and internet security company that provides a range of services to optimize and secure websites and applications. To register, visit their website, sign up with an email and password.
Hugo Installed: Hugo is a tool for generating static sites, written in Go. It is incredibly fast and has great high-level, flexible primitives for managing your content using Markdown and JSON. You can download it from the official Hugo website (gohugo.io) and follow the installation instructions for your operating system.
Git Repository: Set up a Git repository to store your Hugo project files. If you are new to Git, refer to this summarized Git handbook on how to set up Git on your local machine. Currently, Cloudflare Pages only supports GitHub and GitLab.
Step 1
Create a new Hugo project and install Hugo themes on the site. You can choose any theme according to your requirements from themes.gohugo.io. In this example, we will use the Hugo Air theme.
# create a new site
hugo new site demo
# Change the current directory to the root of your project.
cd demo
# initilize git repository
git init
# Clone the hugo-theme-air theme into the themes directory,
# adding it to your project as a Git submodule.
git submodule add https://github.com/syui/hugo-theme-air.git themes/air
Step 2
Configure your site and start the Hugo server. You can access your application in a web browser via http://localhost:1313.
# Open hugo.toml in your root directory and set hugo theme
baseURL = 'http://example.org/'
languageCode = 'en-us'
title = 'Demo'
theme = 'air'

# Start Hugo’s development server to view the site.
hugo server
Step 3
Create your first post and edit the generated Markdown file with your post content. Additionally, you can include metadata such as title, date, and author.
# Add a new page to your site.
hugo new posts/my-first-post.md
+++
# Hugo created the file in the content/posts directory.
author = "rajendra"
comments = false
date = "2023-07-01"
draft = false
image = ""
menu = ""
share = false
slug = "first-post"
title= "First Post"
tags = ["blog"]
+++

This is my first post. I am using [Hugo](https://gohugo.io/documentation/) framework to build this blog. Hugo is the world's fastest static website engine. It's written in Go (aka Golang) and developed by bep, `spf13` and friends.
Step 4
Create a Git Repository and push your commit to the main branch.
git remote add origin git@github.com:username/project-name.git
git branch -M main
git add .
git commit -m "Initial commit"
git push -u origin main
Step 5
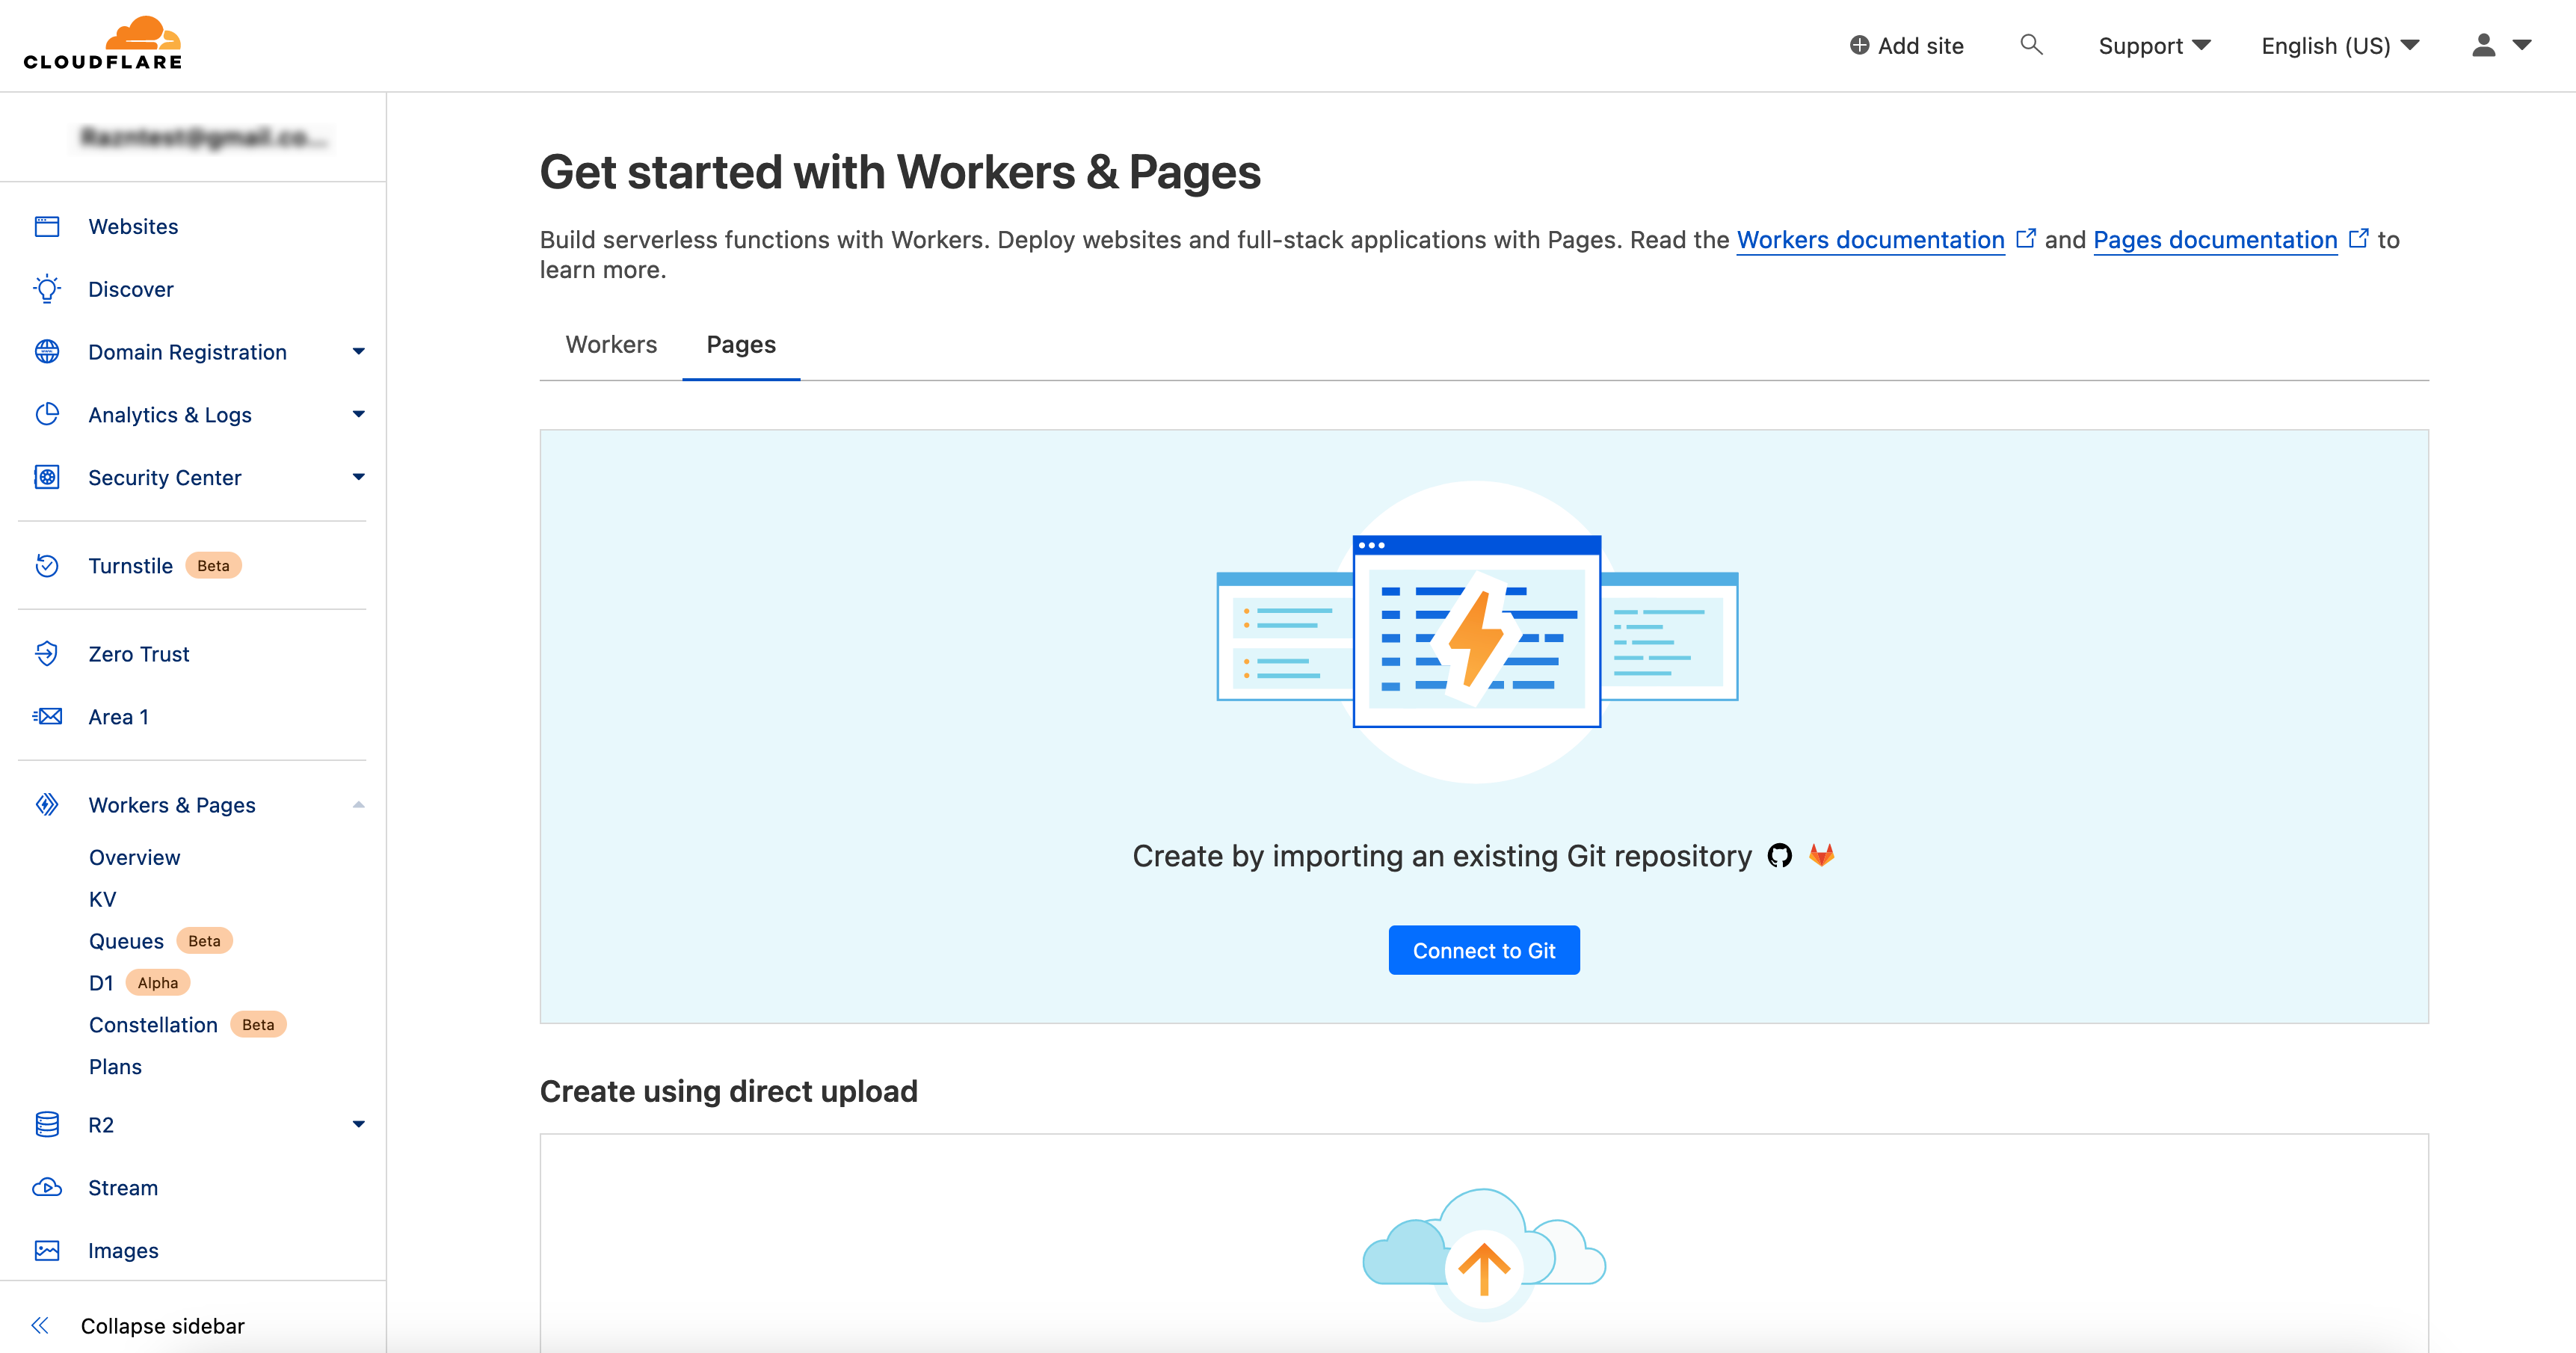
To deploy on Cloudflare Pages, first, log in to your Cloudflare account and access the Cloudflare Pages dashboard. From there, click on "Create a project" choose your preferred Git provider, and establish the connection with your Git repository on Cloudflare Pages.
Next, define the build settings, including the build command (Hugo), and the output directory (public), and set the necessary environmental variables like HUGO_ENV (development/production) and HUGO_VERSION (0.113.0). After configuring these settings, save them, and initiate the initial build process.
Step 7
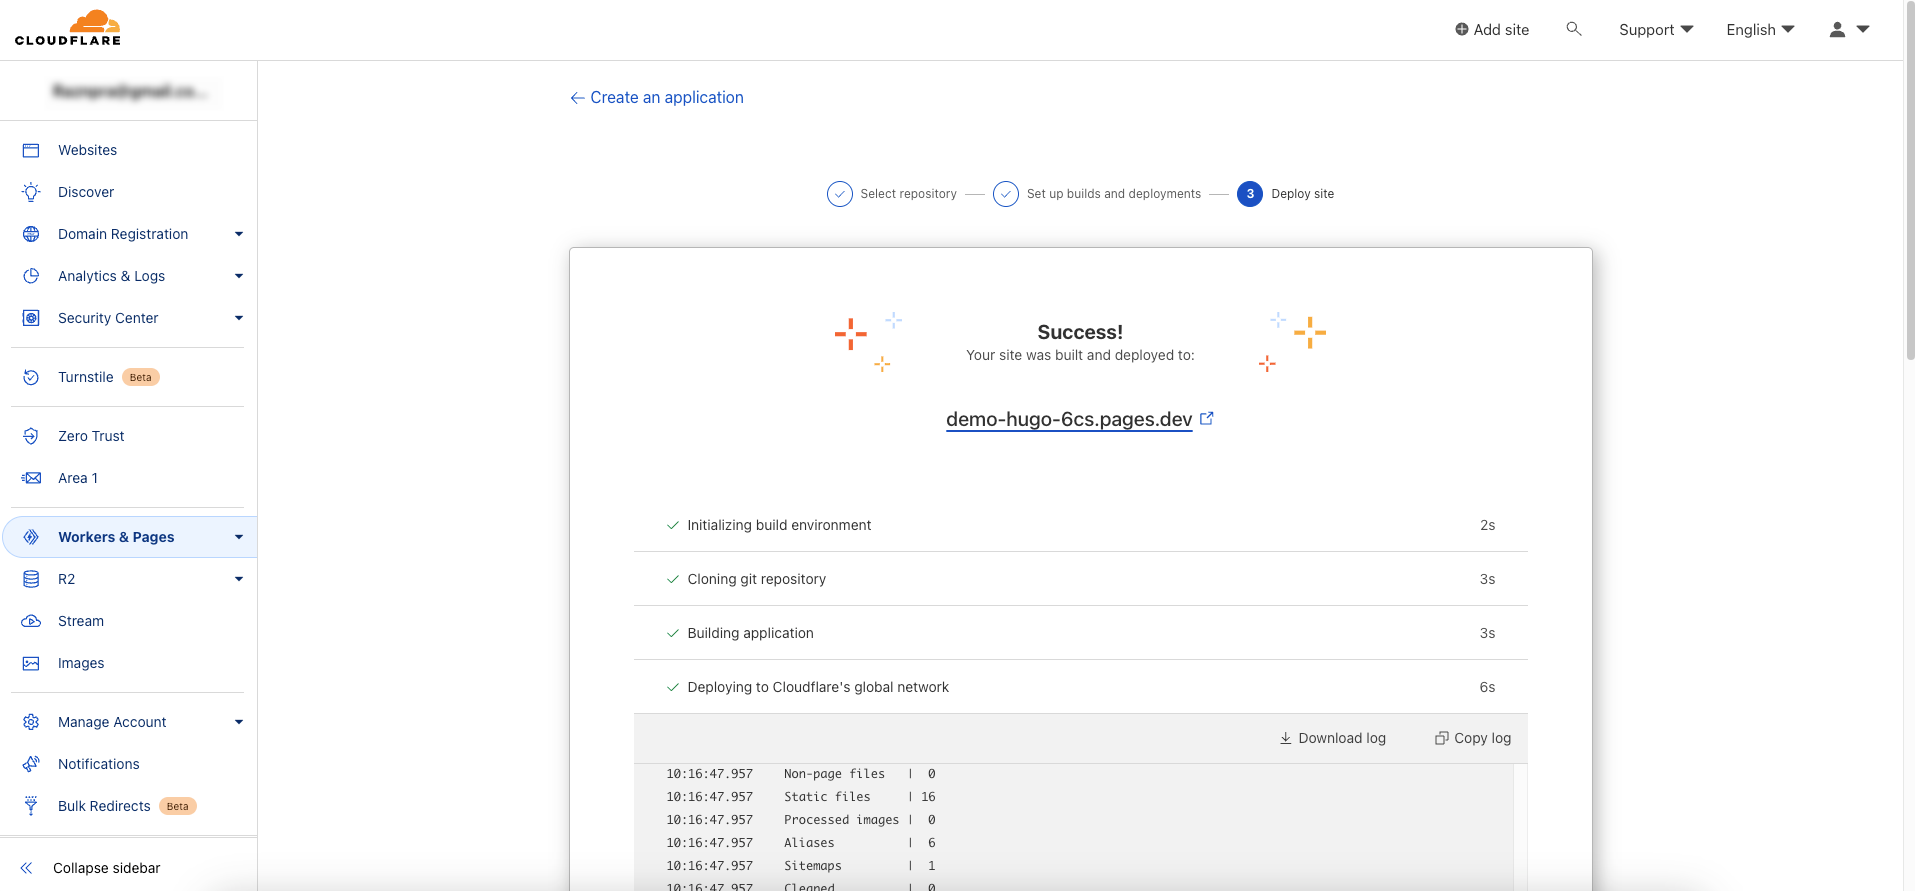
After a successful deployment, you can copy the URL of the deployed site (e.g., https://demo-hugo-6cs.pages.dev/) and configure the baseUrl in the hugo.toml configuration file accordingly. After making the necessary adjustments, all you need to do is push your commit.
Cloudflare Pages will seamlessly integrate with your Git repository, facilitating automatic deployments each time you push updates to the repository. This means that with every commit and push to your Hugo project, Cloudflare Pages will initiate a new build, ensuring that your live website stays consistently up to date with the latest changes.
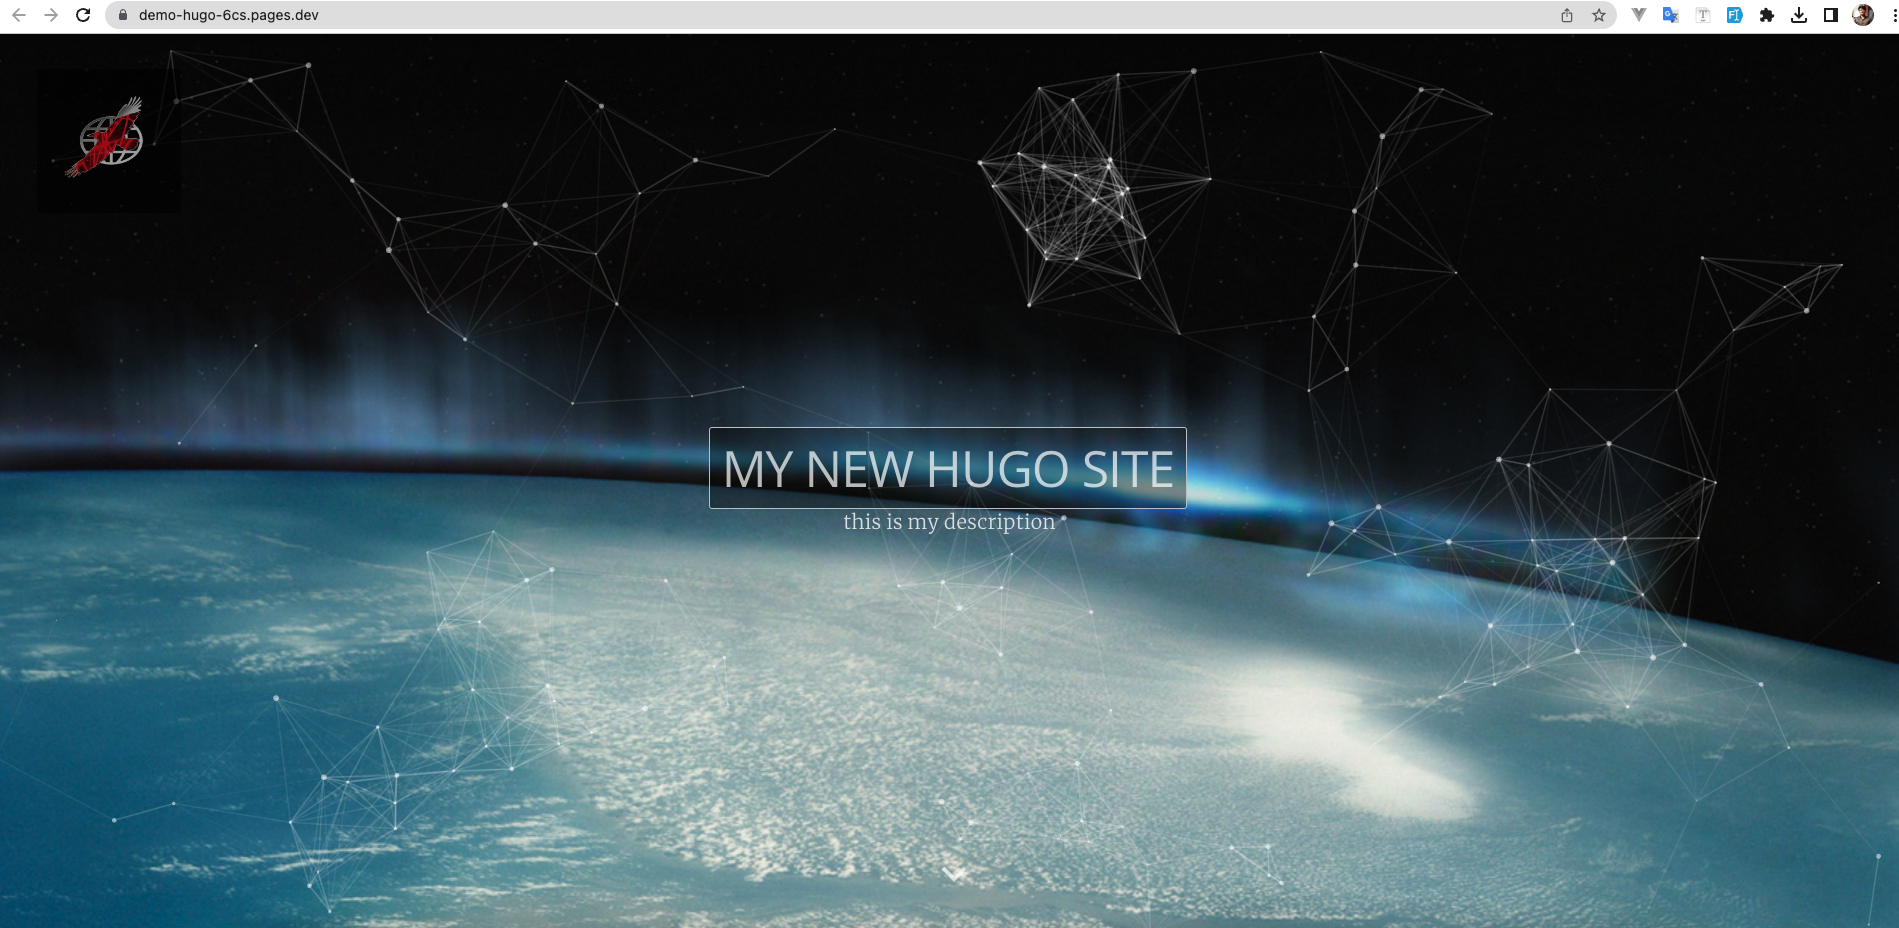
Check out deployed site preview. You can also access the source base in GitHub Repo.
Step 8
Custom Domain Configuration (Optional) - If you have a custom domain for your website, you have the option to set it up within the Cloudflare Pages dashboard. Simply follow the provided guidelines to create the necessary DNS records and link your custom domain to your Cloudflare Pages deployment. This will ensure that your website can be accessed using your preferred domain name, providing a personalized and branded experience for your visitors.
Conclusion
In summary, deploying a static website on Cloudflare Pages with the Hugo framework enables developers to build fast, secure, and highly customizable websites without the burden of managing infrastructure. Harness the potential of these tools and experience the advantages of a streamlined and effective website deployment process.
👏👏 By coming this far I hope you can deploy your static website using the Hugo framework and deploy it to Cloudflare.
Feel free to share your thoughts and opinions and leave me a comment if you have any problems or questions.