Deploying React App With Bitbucket Pipeline

Let's look into a way of deploying react app with the bitbucket pipeline. You can use the same mechanism to deploy different stack applications as well.
Enabling Pipeline
First, enable bitbucket pipelines from your settings. Select Settings for pipelines from Repository settings and enable it.

Configure bitbucket-pipelines.yml
Add bitbucket-pipelines.ymlin the root directory of the repository, the following are the minimum steps necessary for this task, you can more steps as necessary for your application.
home/bitbucket-pipelines.yml
pipelines:
  default:
    - step:
        caches:
          - node
          - pip
        script:
          - npm install
          - npm test
  branches:
    develop:
      - step:
          script:
            - apt-get update
            - ssh ec2-user@0.0.0.0 /var/www/home/scripts/devCdScript.sh
    staging:
      - step:
          script:
            - apt-get update
            - ssh ec2-user@0.0.0.0 /var/www/home/scripts/stgCdScript.sh
    master:
      - step:
          script:
            - apt-get update
            - ssh ec2-user@0.0.0.0 /var/www/home/scripts/prodCdScript.sh
The default part of the script is executed every time, regardless of the branch that you merge into. Therefore, it is a good idea to add a script to ensure quality, such as a test code, in this part. Just be noted that it will be executed in your every commit. So, if it is not necessary you can remove this step.
On the other hand, under branches, the script that is executed while the code is merged into the specific branch in this case master, staging, and develop.
Prepare one .sh file for each environment or it can be common for all environments. It depends upon your need. Following is the basic script to deploy a react app. You can add and alter the script that will run on your server as per your requirement.
home/scripts/devCdScript.sh
#!/bin/bash

cd /var/www/home

git pull;

if [ $? -eq 0 ]; then
  echo 'git pull success.'
else
  echo 'git pull failure.'
  exit 1;
fi

npm install;
npm run build;
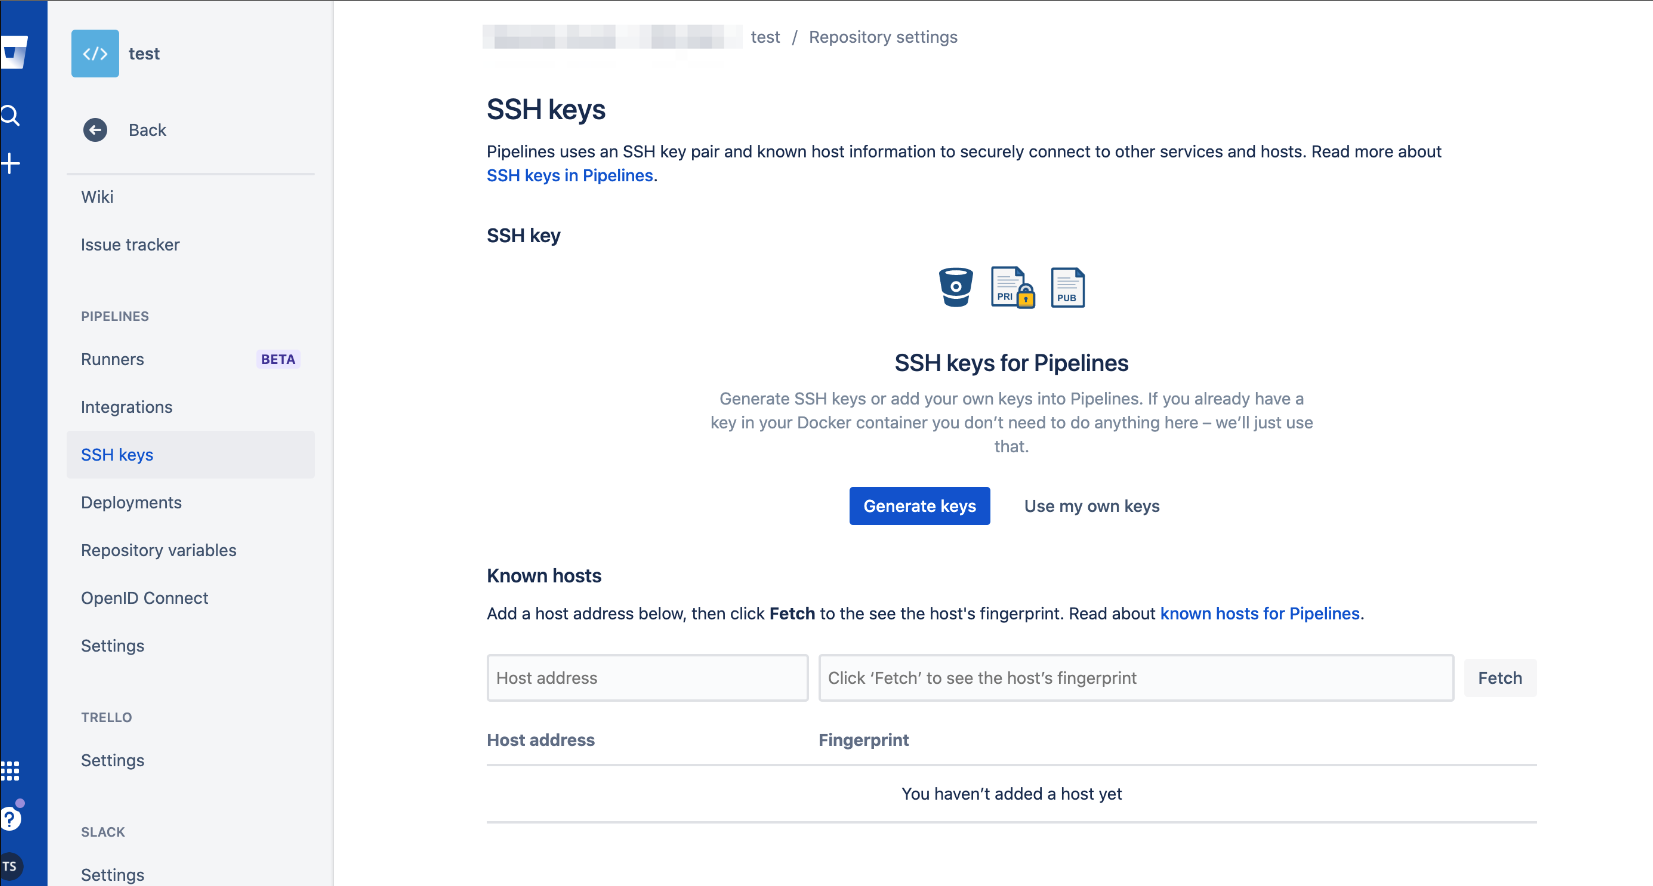
SSH Key settings
In order to access our application servers from our pipeline, we need to add the SSH key of the pipeline to our server. This SSH key can be generated from the repository settings page.
After you generate the SSH key please copy the public key to your server. In our case, it is in the following location. /home/ec2-user/.ssh/authorized_keys
This might be different with respect to the system / OS and user settings.
You also need to fetch your host address
(your domain OR IP) into the known host of SSH key settings in bitbucket. Simply add your application IP or Domain then click fetch to add the host's fingerprint.
By following these steps, you can deploy a simple react app into your server by using the bitbucket pipeline. You can further configure the pipeline as per your needs, let me know in the comments if you want to see the advanced use cases. Happy Coding!!