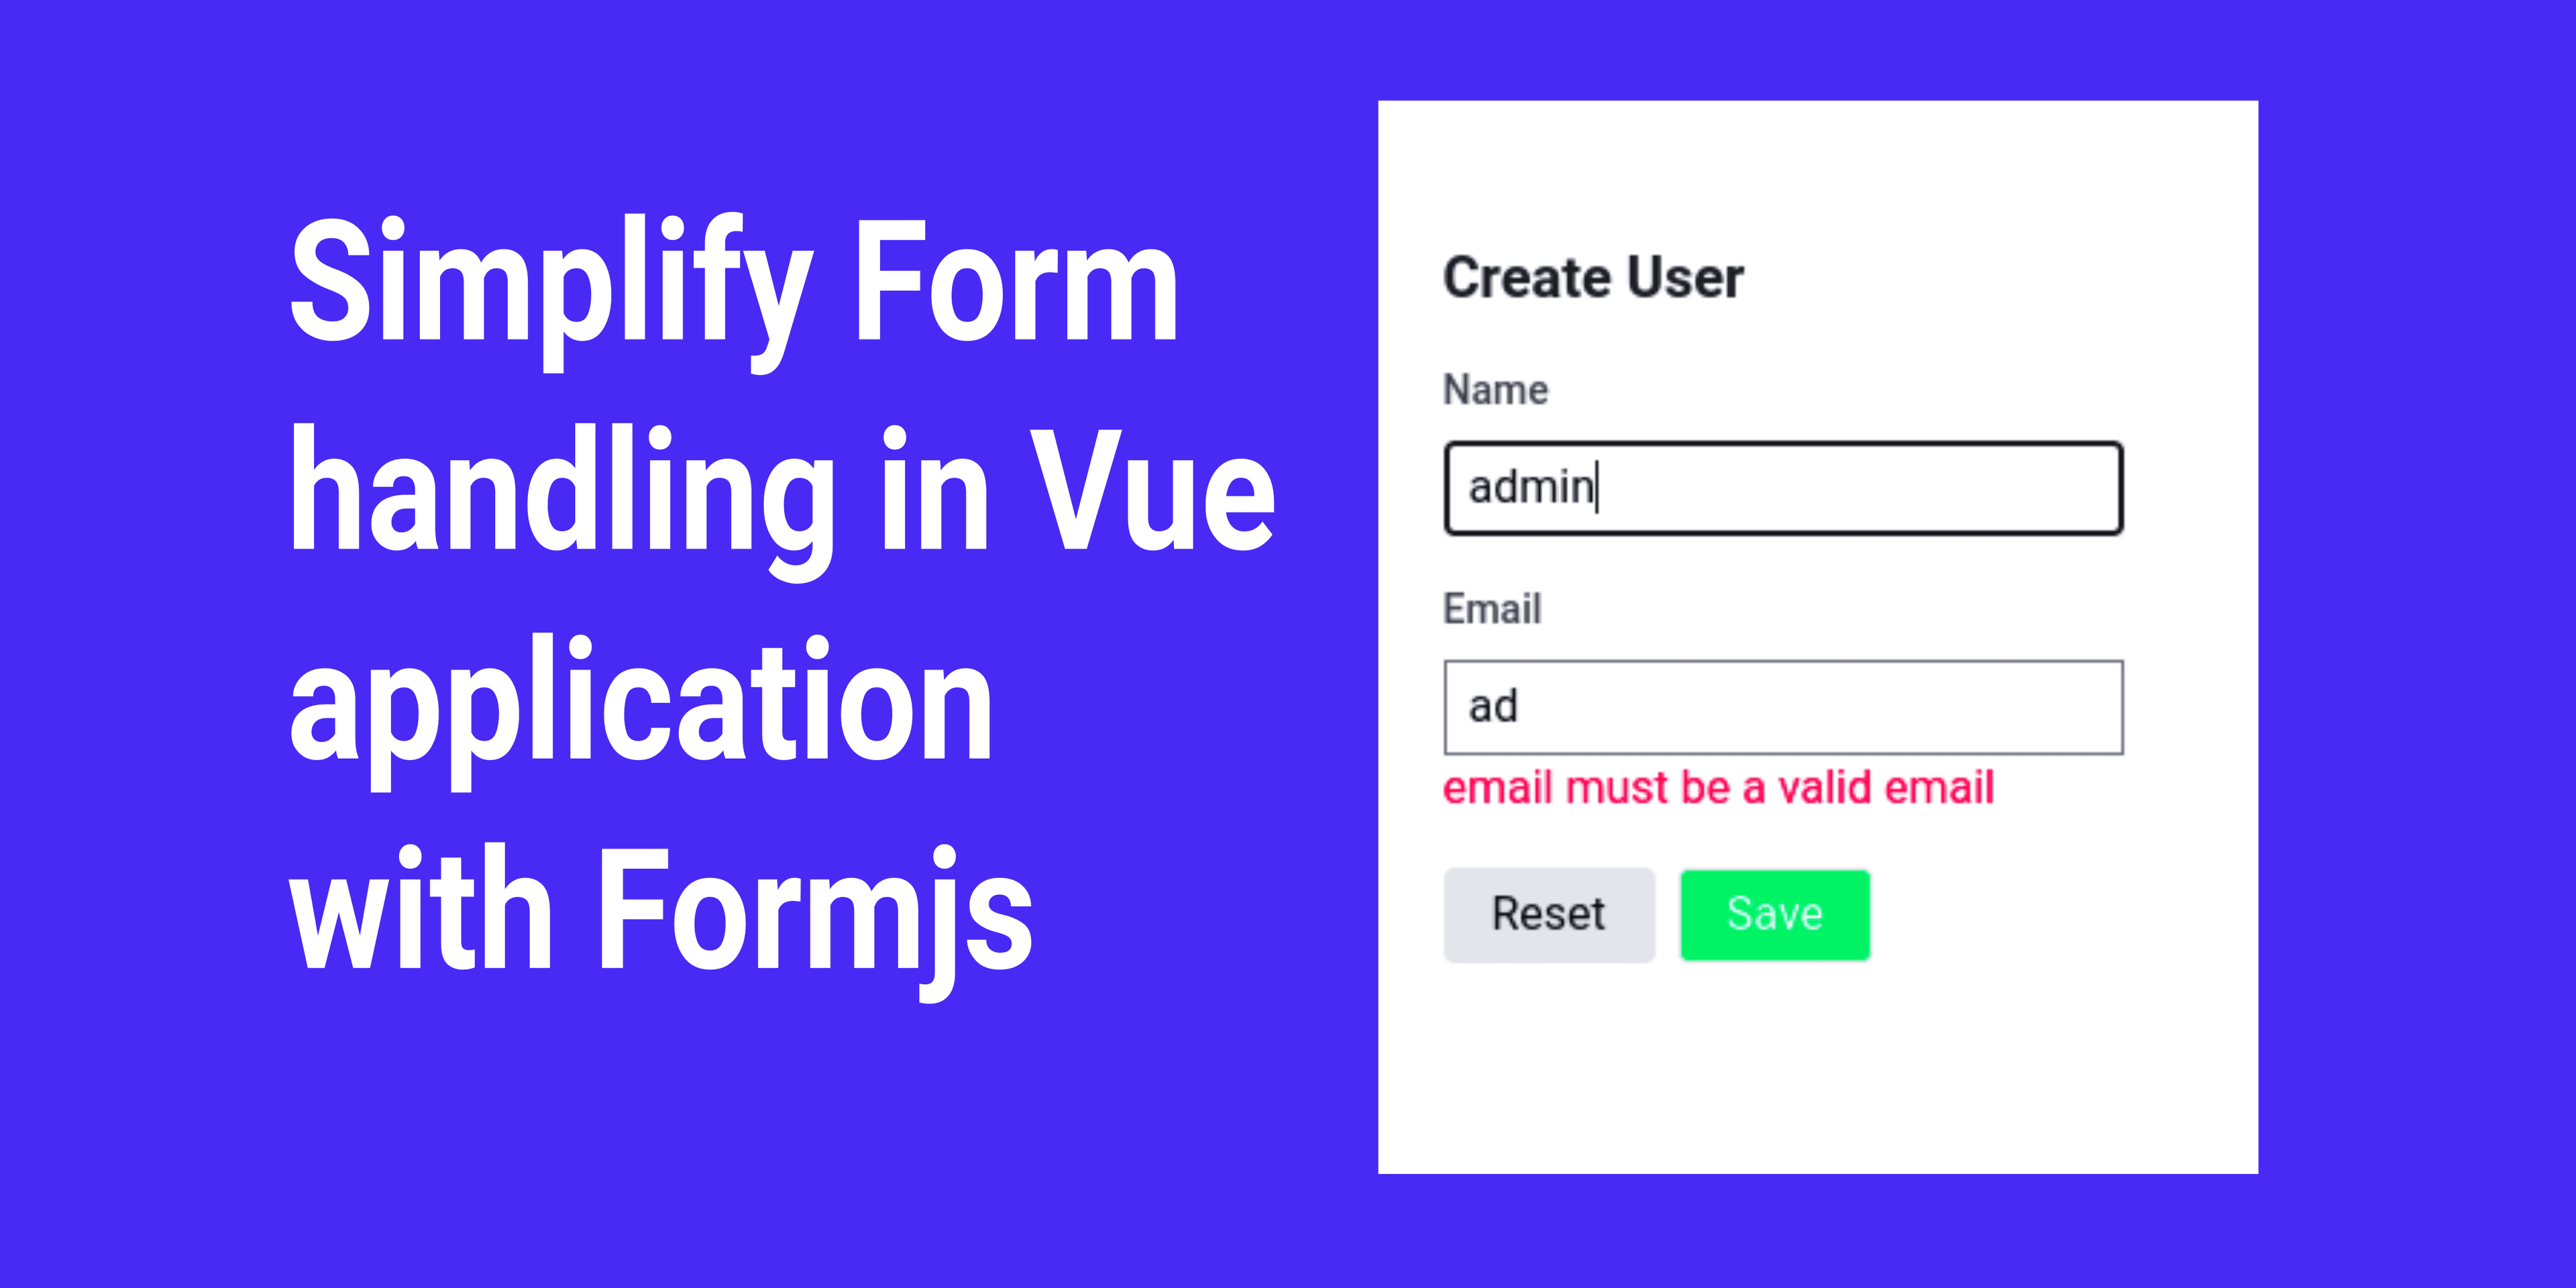
Simplifying Form Handling in Vue Applications with Form JS - Inspired by Inertia JS
Search for a command to run...
This really is a well done article! You should write more! You got me thinking about form validation though and so I wrote a similar article but with an approach based on web standards: https://jordanbrennan.hashnode.dev/simplifying-form-handling-in-vue-applications-by-leveraging-html
Nice article. Will use form js with this approach.
A bug that only happens for some users, that you can never reproduce, that isn't in your code. Welcome to the React + browser-translation crash — what causes it, why it's so sneaky, and the battle-tested one-file fix.
Upgrading a core production database is usually the stuff of dev nightmares. It often involves maintenance windows, scheduled downtime, and the looming fear of a botched migration. But what if you cou

We are moving into products that adapt, predict and react with real context. Designing only interfaces is not enough anymore. We are designing experiences that understand the user. Designers and digital agencies are now challenged to move beyond trad...

TL;DR Refactor property declaration for collection as /** * @property Collection<int, Comment> $comment ... Overview When using PHPStan (or Larastan) with Laravel, you may encounter confusing type errors when calling collection methods like map...

Learn the simple tricks to speed up your tests and ensure every entry in your database is intentional.

Engineering at JoBins
165 posts
Welcome to Engineering at JoBins — where we share the stories, insights, and lessons from building a world-class hiring platform. From system design and scalability to developer tools and team culture, our engineers write about the real challenges we solve every day. Whether you're a curious developer or a fellow builder, we hope our experiences inspire and inform your own engineering journey.
Recently I have been working on FormJs, which is a form helper and wrapper around Axios, inspired by inertiaJs. The purpose behind writing this new library was to streamline the process of how we handle the form on the front-end side. Validating forms is a crucial aspect of the form-handling process, and a lot of us who work in front-end development, particularly with Vue, have relied on vee-validate for this purpose. However, vee-validate has undergone significant changes and evolved in a different direction.
To validate a text field and display an error message using vee-validate version 2, we would typically write the following code:
<input type="text" name="field" v-validate="'required'">
<span>{{ errors.first('field') }}</span>
But in version 3, the whole API has been changed, and the same logic should be written as,
<ValidationProvider name="field" rules="required" v-slot="{ errors }">
  <input type="text" v-model="value">
  <span>{{ errors[0] }}</span>
</ValidationProvider>
As, the composition-API has been backported to vue-2, but the vee-validation version 2 has very poor support over it.
The suggestion might be to use the latest version of vee-validate, but many of us might have been stuck in version 2, as they started using it early in the project.
Please see the below link to the migration guide from version 2 to version 3. Migrate vee-validate from 2x to 3.x
Let's delve into this further by looking at the installation process.
yarn add formjs-vue2
or
npm install formjs-vue2
After installing it, Let's create a user registration form, containing the user's name, email, and password. For simplicity, I have created a simple layout using TailwindCSS,
<template>
    <div class="container mx-auto">
        <input type="text" class="block border">
        <input type="text" class="block border">
        <input type="text" class="block border">
        <input type="text" class="block border">
        <button type="submit" class="block border">Submit</button>
    </div>
</template>
Now let's import the useForm composable from formjs-vue2 and define our fields in the script section
<script setup>
import {useForm} from "formjs-vue2";

const form = useForm({
    name: '',
    email: '',
    password: '',
    password_confirm: ''
})
</script>
and let's bind the form for the inputs as
<template>
    <div class="container mx-auto">
        <input type="text" v-model='form.name' class="block border">
        <input type="text" v-model='form.email' class="block border">
        <input type="text" v-model='form.password' class="block border">
        <input type="text" v-model='form.password_confirm' class="block border">
        <button type="submit" class="block border">Submit</button>
    </div>
</template>
Formjs comes with built-in support for yup, a schema-based validation library. Let's proceed with the installation of yup by running the following command:
yarn add yup
and define a form schema as,
<script setup>
import { object, string } from 'yup'

const formSchema = object({
    name: string().required(),
    email: string().email(),
    password: string().required(),
    password_confirm: string().required()
})
</script>
Here is the basic validation rule that has been defined for form, which we will further assign the schema in,
<script setup>
...
const form = useForm({
    name: '',
    email: '',
    password: '',
    password_confirm: ''
}, { schema: formSchema })
</script>
Validation of the form can be accomplished using the validate() method, which validates all fields and attaches the respective errors to each field. For instance, to access the error for the email field, we would use form.errors.email, and so on. Additionally, individual fields can be validated by passing them into the validate('email') method. In the example below, we are validating the name input as it changes:
<input type="text" v-model='form.name' @input="validate('email')" class="block border">
<span v-if="form.errors.name" class='text-red-500' v-text='form.errors.name'/>
The complete example would look like this,
<template>
    <div class="container mx-auto">
        <form @submit.prevent.stop="submit">
            <input
                type="text"
                class="block border border-black"
                v-model="form.name"
                @input="form.validate('name')">
            <span
                v-if="form.errors.name"
                class='text-red-500'
                v-text='form.errors.name'/>

            <input
                type="text"
                class="block border border-black"
                v-model="form.email"
                @input="form.validate('email')">
            <span
                v-if="form.errors.email"
                class='text-red-500'
                v-text='form.errors.email'/>

            <input
                type="password"
                class="block border border-black"
                v-model="form.password"
                @input="form.validate('password')">
            <span
                v-if="form.errors.password"
                class='text-red-500'
                v-text='form.errors.password'/>

            <input
                type="password"
                class="block border border-black"
                v-model="form.password_confirm"
                @input="form.validate('password_confirm')">
            <span
                v-if="form.errors.password_confirm"
                class='text-red-500'
                v-text='form.errors.password_confirm'/>

            <button type="submit" class="block border">Submit</button>
        </form>
    </div>
</template>
<script setup>
import {useForm} from "formjs-vue2";
import {object, string} from 'yup'

const formSchema = object({
    name: string().required(),
    email: string().required().email(),
    password: string().required(),
    password_confirm: string()
        .required()
        .test('passwords-match', 'Passwords must match', function (value) {
            return this.parent.password === value
        })
})

const form = useForm({
    name: '',
    email: '',
    password: '',
    password_confirm: ''
}, {schema: formSchema})

const submit = async () => {
    await form.validate()

    if (!form.hasErrors) {
        form.post('/api/users', {
            onSuccess: (response) => {
                // handle success
            }
        })
    }
}

</script>
Formjs includes built-in support for backend validation, with Laravel's validation error response being considered the standard response format. Any validation errors will be automatically accessible through form.errors[field].
Link for demo: https://stackblitz.com/edit/vitejs-vite-4vj3mb?file=src/App.vue
👏👏In conclusion, Form JS is a powerful form-handling library that simplifies the process of form validation and submission in Vue applications. Inspired by Inertia JS, it features built-in support for Axios and schema-based validation using Yup. Form JS also supports backend validation errors through Laravel's error response format. Its easy-to-use API allows for effortless integration into any Vue project, making form handling a breeze for front-end developers.
Overall, Form JS is a valuable addition to any Vue developer's toolkit and can help streamline the development process, enabling developers to focus on building better user experiences.
Feel free to share your thoughts and opinions and leave me a comment if you have any problems or questions.